01 — Power
Power cable and a nearby electrical outlet to power up your Printer/Scanner.
Gather these items before you begin Canon printer setup with ij.start.canon.
Power cable and a nearby electrical outlet to power up your Printer/Scanner.
Ink or toner cartridges (included or purchased separately for Printers only).
Wi-Fi network Name (SSID) and Password (For Wireless Printers) — Optional.
Computer (Mac, Windows, Linux, Chrome OS), Tablet (iPad, Android), or Smartphone (Android, iOS) for setup.
Printer placed within range of your Wi-Fi router (For Wireless Connections).
USB cable that connects to your Canon Printer (For Wired Connections) — Optional.
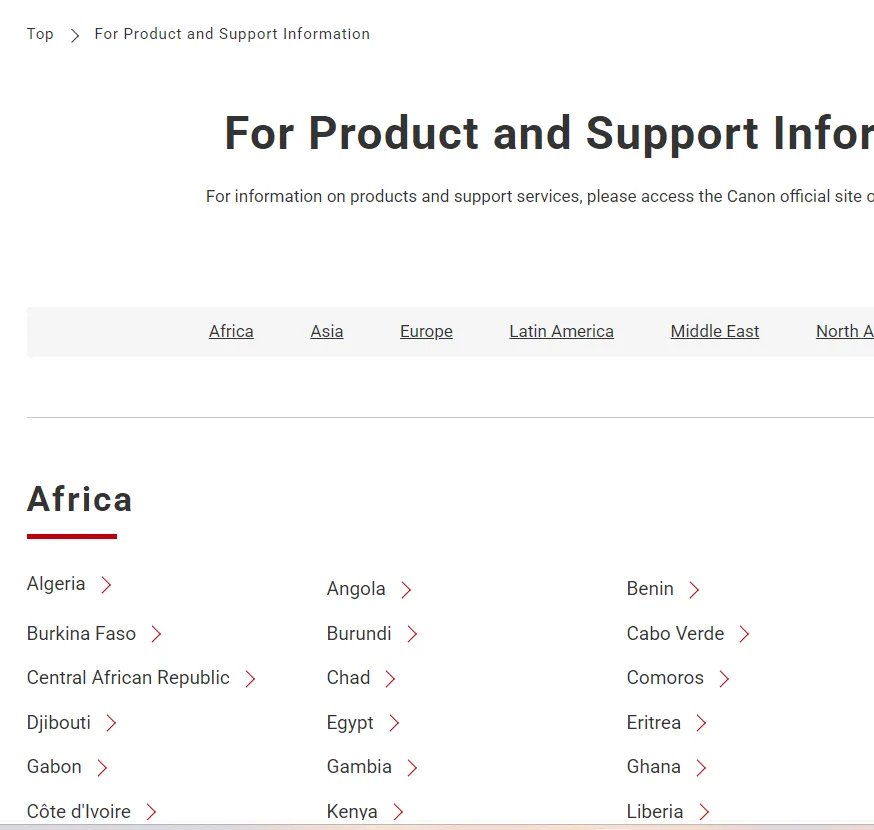
Locate the Model Number on your Printer Box or front or back of the Printer/Scanner.
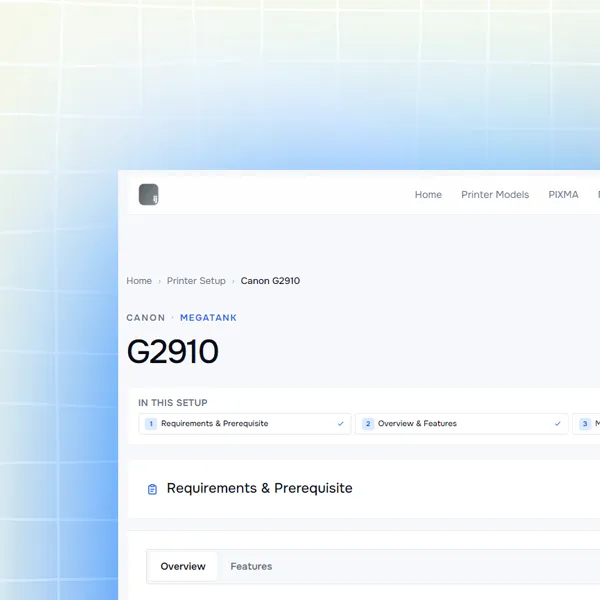
Browse Canon printer families and open model setup guides.
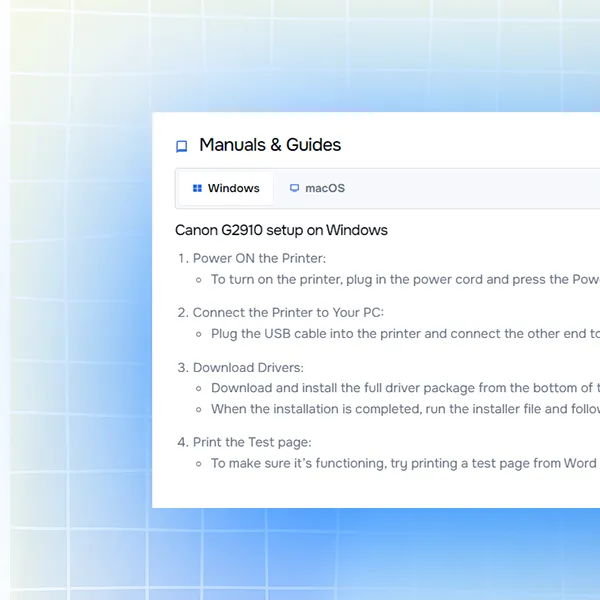
Unboxing your Printer and Initializing the printer for the First time use before using ij.start.canon.
Step 01
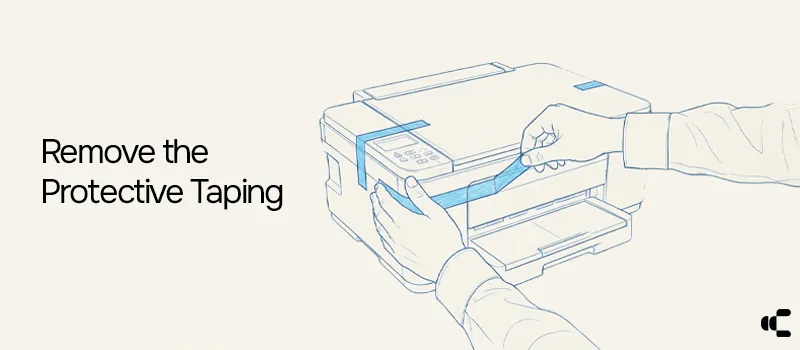
Take the printer out of the box and remove all protective tape, orange caps, and packaging materials.
Step 02
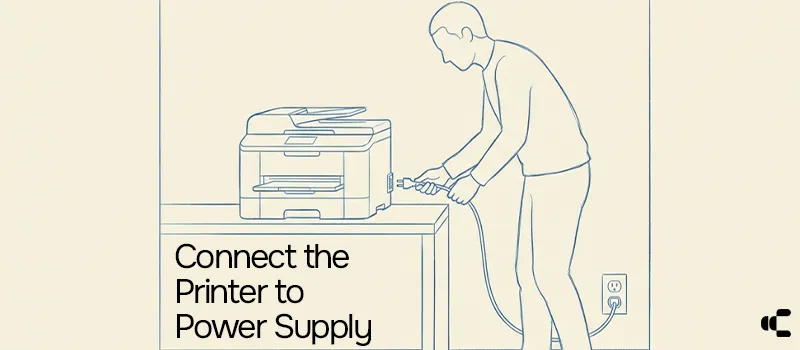
Plug the power cable into the printer and a wall outlet.
Step 03
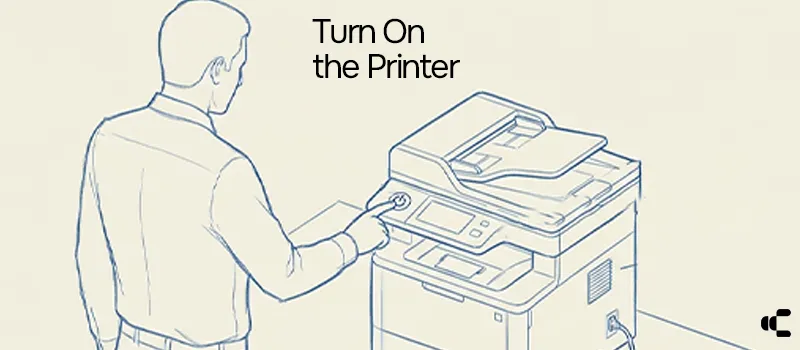
Press the power button and wait until the printer finishes starting up.
Step 04
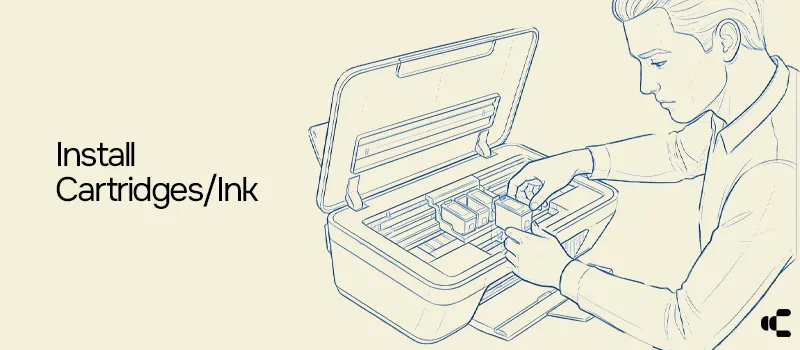
Install ink tanks or cartridges as shown in your model guide, then load plain paper.
Canon setup guides cover major operating systems and mobile platforms.
Intel, AMD, ARM, 64 Bit, 32 Bit
MacBook Pro, Mac Computers
iPhone, iPad
Tablets, Smartphones
Chrome Books
Ubuntu, Mint, Major Distros
There are a couple of ways to download the Canon Printer Drivers for your Canon Printer. You can follow the guide below to check the step-by-step guide on how you can do it.
Installation of the Driver, Setup of the Printer with various Operating systems, Wired and Smartphone connections with ij.start.canon
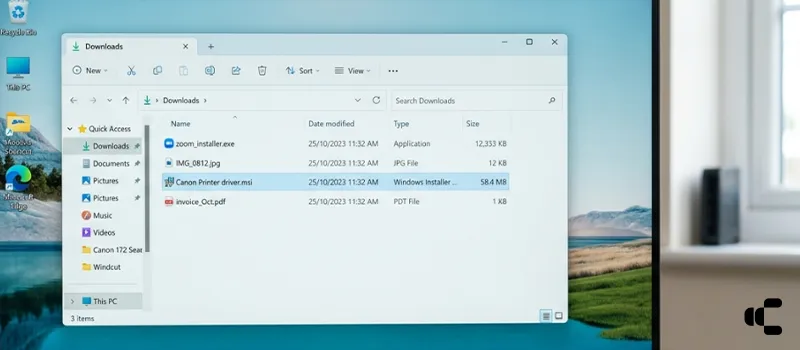
TR4720-master.exe or .msi. Mac packages look like TS4657-master.dmg. Double-click to start setup.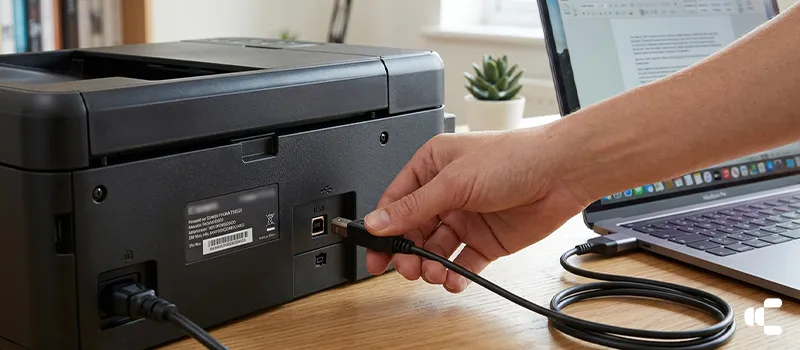
On Windows 11/10 and Mac with internet, connecting by USB often auto-detects the printer. If not:
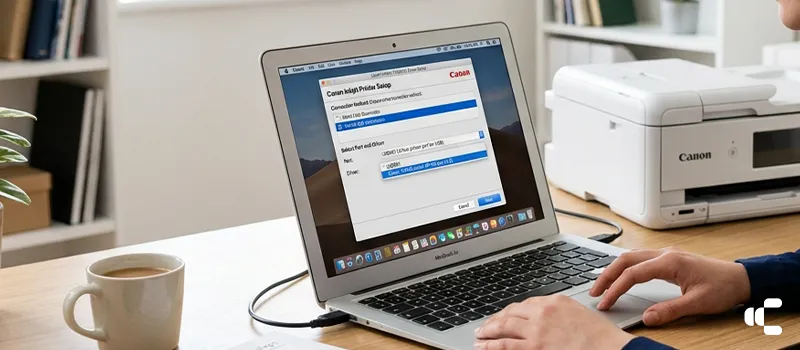
.inf file from the extracted folder.Connect your Canon Printer or Scanner wirelessly with Easy Wireless Connect, WIFI Assistant Tool, Apple AirPrint, And Wi-Fi on Windows.
AirPrint is an inbuilt feature available on your Mac computers to connect your Printer without Cable using wireless functionality. You can simply follow these steps.
Using AirPrint, Removes the need to download additional drivers.
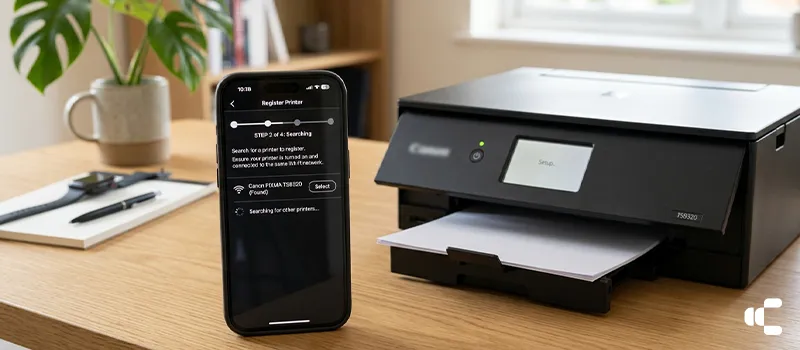
Firstly, turn on the printer and then using the printers display go to the settings. Click on the “Add new connection” or click the plus icon to add a new network. Select the network you want to connect to, and add the password. Follow on-screen instructions and allow the printer to connect to a new network.
If the printer does not have a display use a smartphone or computer.
Canon printers and scanners often share a master setup. To extend scanner features, install Canon IJ Scan Utility.
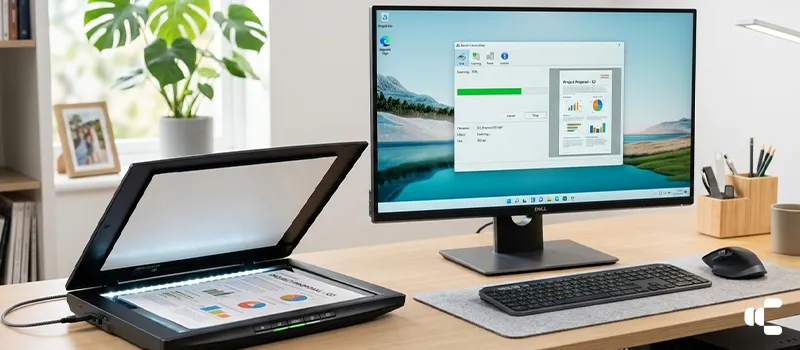
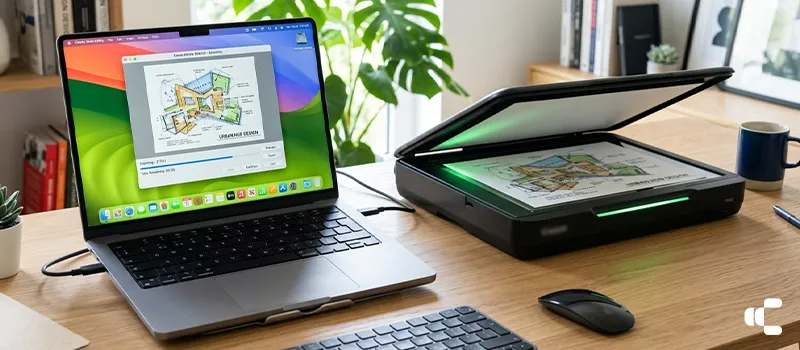
If you are first time user of your Canon Printer with AIO (All in one) functionality like Copying, Scanning or you are just trying to align your printer, Here is how you can do it.
Ensuring Precise Prints: Step-by-Step Alignment with Canon Software
Note: The specific steps and options may vary depending on your Canon printer model and the version of Canon software you are using. For detailed instructions, refer to the user manual or online documentation provided by Canon for your specific printer model.
Effortless Duplications: Step-by-Step Copying with Canon Printers & Scanners
Note: The steps outlined above provide a general guideline for copying using Canon Printers. The specific buttons, options, and procedures may vary depending on your Canon printer model. For detailed instructions tailored to your specific printer model, please refer to the user manual or online documentation provided by Canon on ij.start.canon or https://ij.start.canon
Common Canon error codes and quick fixes before you reinstall drivers.
Printer out of paper or paper not loaded correctly.
Ink cartridge not installed properly.
Ink cartridge not recognized.
Wireless LAN setup failure.
Wireless setup timeout.
Confirm your OS version is supported for your exact Canon model.
Power cycle both devices, then try printing again.
Download a fresh package from ij.start.canon and reinstall.
Verify Wi-Fi/USB connection, clear the print queue, and retry a test page.
Wondering what you get from the premium subscription.
We point you to official sources like ij.start.canon so you avoid fake error pages and unsafe remote-support scams.
Guides are updated regularly with clear help for Canon printer setup across devices.
Detailed, step-by-step OS guides for each printer and scanner model.
Yes. Most new Canon printers or scanners support basic plug-and-play use. For full features, wireless setup, scanning tools, and model-specific drivers, follow the guided install from ij.start.canon.
Your printer will give a blinking error message like E5 or E4, You can search the same error code on any search engine you like with the model of the printer you have like "E5 Error TS3355" and you will get the troubleshooting guide for it.
Confirm the printer and computer are on the same 2.4 GHz network when required, restart the printer and router, re-run Wireless LAN Setup on the printer, then retry the software connection steps.
No. For normal printers the Official Canon setup at ij.start.canon does not require registration. You can still register your product on Canon Support if you want warranty tracking, usage tracking and other thing on canon my id, but most the canon printers do not need an account on ij.start.canon or any website as claimed by many third party websites.
However if you are running large format printers that needs Connection to My Canon Business, then you will need to Register your Printer to keep track of supplies, and usage, and other important features like Submitting meter reads, Ordering Supplies, and Support.
Some Canon printers include a default network/admin password printed on a label on the lid or rear of the unit. Use that value when wireless or admin setup asks for the printer password. This will also be printer whenever you want to connect your printer to the WiFi Network!
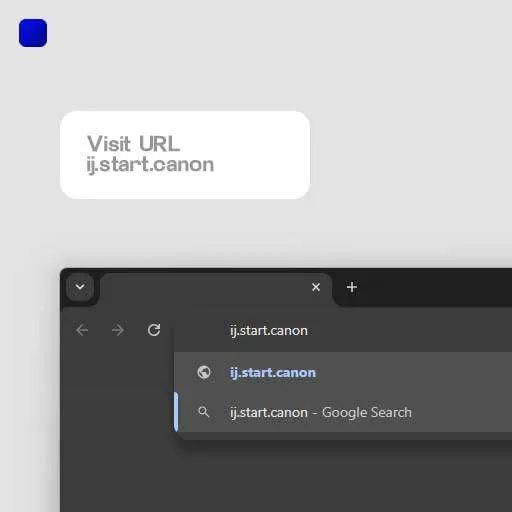
ij.start.canon is the official web portal where a user can find the correct drivers and setup instructions for the Canon Printer/Scanner. The website has Setup guides based on Country/Region, Operating System, which is automatically detected upon visiting the site to make sure the correct instructions and drivers are provided to the users. While the correct version is ij.start.canon, many people mistake it for ij.start.cannon which can lead to the risk of visiting the phishing or third-party website.
We are not Canon or Affiliated with Canon, nor do we represent Canon INC. All images and graphics are the property of the registered trademark owner.
This website is not affiliated with or endorsed by Canon. We are an independent entity providing market research and other informational content related to Canon products and services.
We provide content behind paywall, Which means to see our guides and instructions you will need to pay for our subscription. The Drivers however can be checked on the official documentation for free at ij.start.canon
Type your printer model in the search box and pick your printer from the suggestions.
Tell us which model you couldn't find and we'll add a guide for it.